

You clip on the lead, step out of the front door, and within ten seconds your dog is at the end of it, leaning forward with all its weight. Your shoulder aches, and by the time you get home you are more tired than your dog. Learning how to stop a dog pulling on the lead is one of the most common goals for dog owners, and the good news is that it is fixable at any age. This guide explains why dogs pull, the equipment that helps, and seven practical steps to a loose lead.
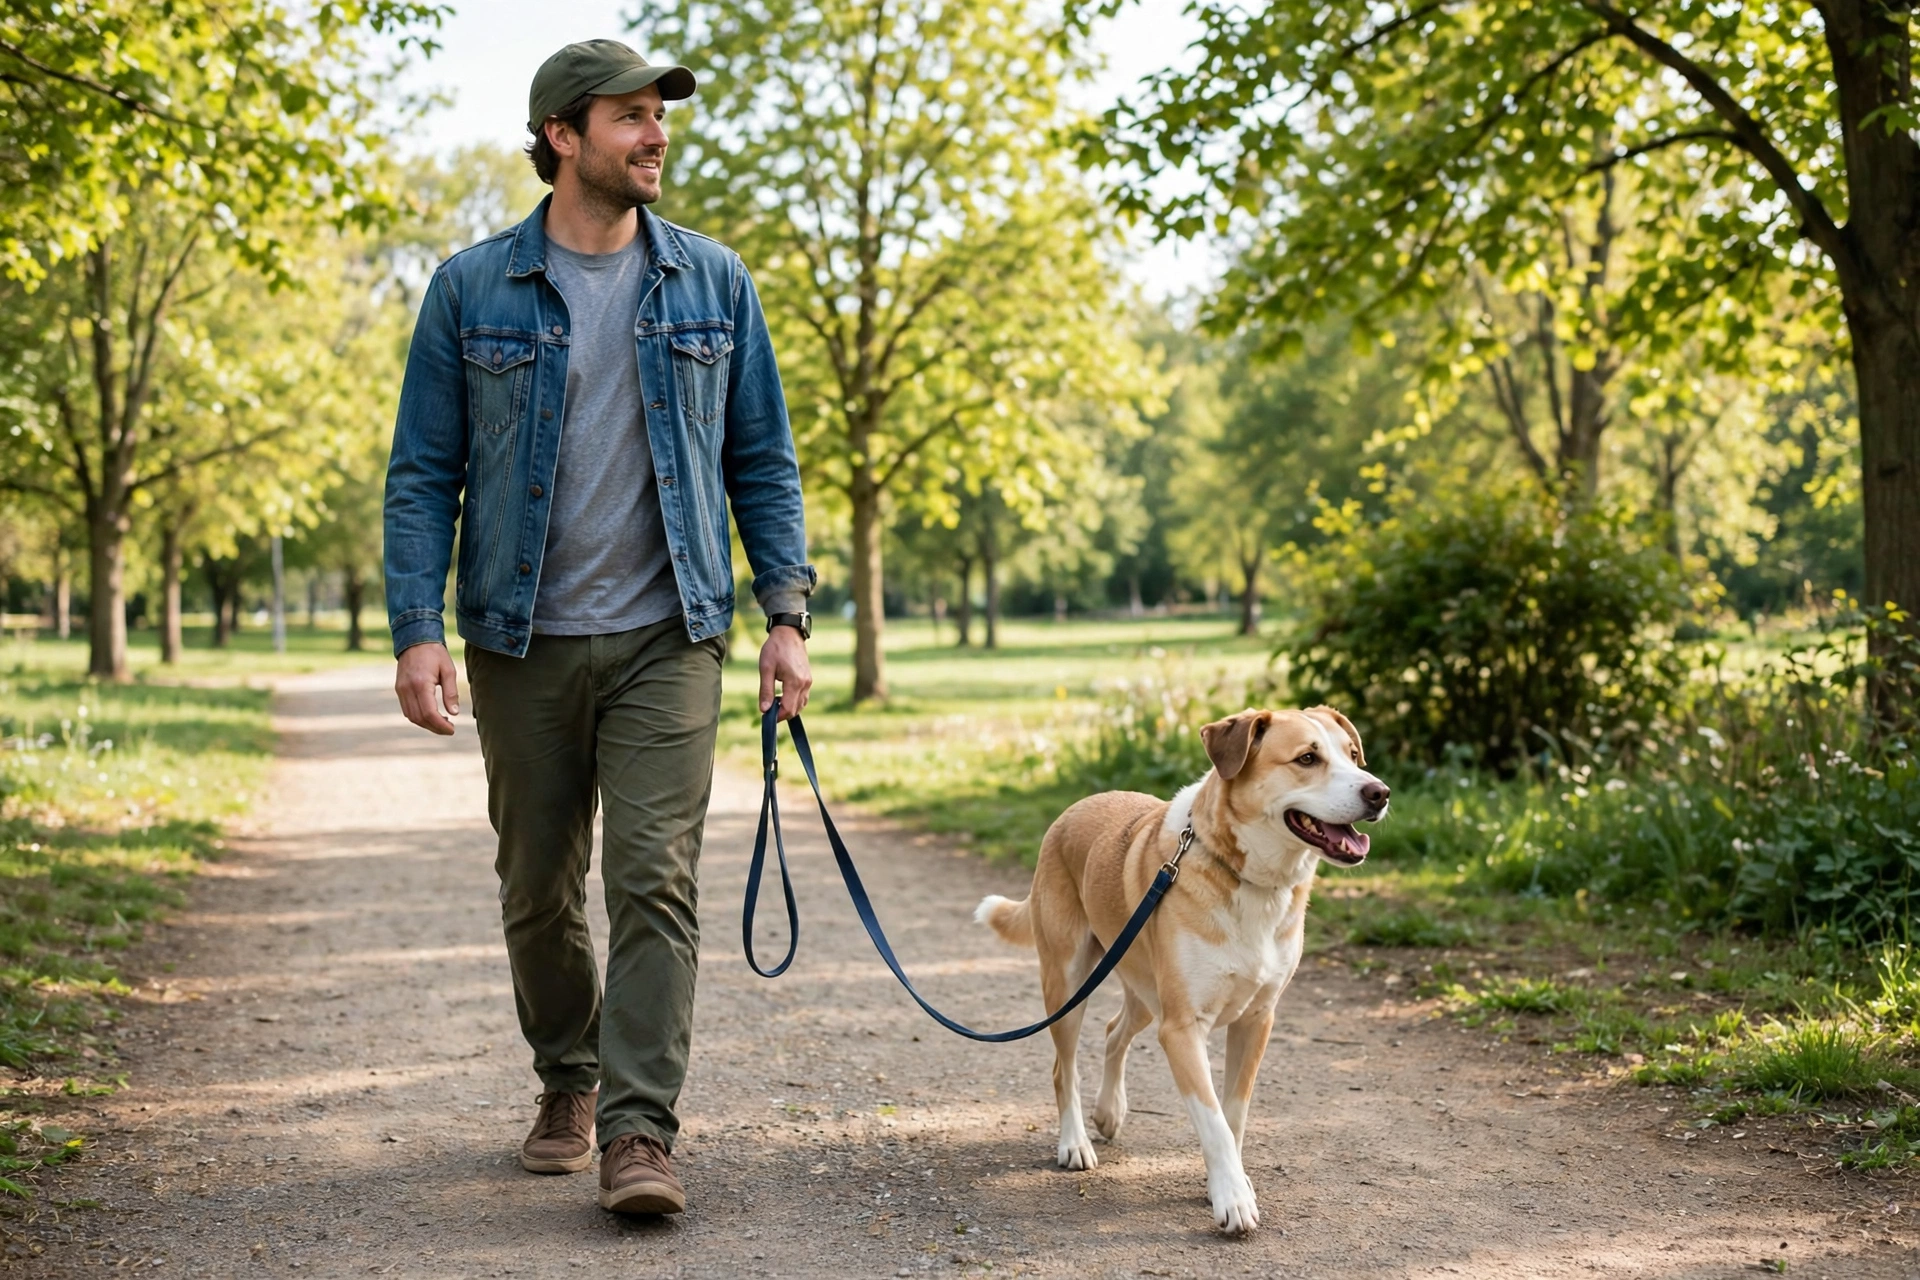
Why Dogs Pull on the Lead
Dogs pull because, from their point of view, pulling works. They lean into the lead and get to the interesting smell, the other dog, or the park gate a little faster, and that reward teaches them to pull again next time. It is not stubbornness. Dogs simply walk faster than people, and the world outside is far more exciting than the pavement under your feet.
Pulling back makes it worse. When you pull on the lead, most dogs instinctively pull in the opposite direction, a response trainers call the opposition reflex. The fix is not a stronger arm or a harsher collar. It is teaching your dog one rule: a loose lead moves forward, and a tight lead stops the walk.
One exception: if your dog has never pulled before and the behaviour appeared overnight, or it pulls while coughing or gagging, rule out pain first. Knowing the common health problems in your breed can help you spot issues worth a vet visit.
The Equipment That Actually Helps
You do not need expensive gear, but the right setup helps. Start with a fixed-length lead of about four to six feet, which gives your dog room to walk naturally without a running start. Avoid retractable leads during training. They stay under constant tension, so your dog never learns the difference between a loose lead and a tight one.
For most dogs, a front-clip harness is the best starting point. The lead attaches at the chest, so when your dog pulls forward, the harness gently turns it back toward you. It also takes pressure off the neck, which matters for puppies and strong pullers. A back-clip harness, by contrast, often makes pulling easier. Make sure the harness fits snugly enough that your dog cannot slip out.
Finally, stock up on small, soft treats your dog loves. Keep them in a pocket or a treat pouch where you can reach them within a second or two.
Step 1: Start Indoors With the Lead On
Do not begin on a busy street. Start in your living room or garden, where there is almost nothing to distract your dog. Clip the lead to the harness and walk around the house together. Every few steps, when your dog is near you with a loose lead, say your marker word and give a treat.
If you have just brought a puppy home, this is the ideal time to begin. Good habits built during your puppy’s first week at home are far easier to establish than habits you have to undo later. Let your puppy wear the harness indoors first, so the gear feels normal before you add walking to the mix.
Step 2: Teach a Marker Word
Pick a short word, such as “yes”, or use a clicker. Say the word, then immediately give a treat. Repeat this ten or twenty times in a quiet room until your dog perks up the moment it hears the word. The marker tells your dog, in that exact second, that it did the right thing.
Step 3: Reward Every Check-In
With the lead on indoors, wait for your dog to look at you. The moment it does, mark it and give a treat. Do this every time your dog glances your way. You are building a habit of checking in with you, and that habit is the foundation of loose-lead walking.
Step 4: Stop the Moment the Lead Goes Tight
This is the core of the whole method: when the lead goes tight, you stop. Plant your feet and become a tree. Do not pull back, do not say anything, and do not drag your dog backward. Just wait. Your dog will eventually turn around or step back toward you. The instant the lead goes slack, mark it, reward your dog, and start walking again.
At first you may only manage a few steps before stopping again. That is normal. The American Kennel Club’s trainers describe the same rule in their loose-leash training guidance: only let your dog walk when the lead is slack.
Step 5: Change Direction Instead of Pulling Back
Stopping works well, but turning works even better once your dog understands the game. When your dog surges ahead, calmly turn and walk in the opposite direction. Your dog will have to turn and catch up with you, and when it does, reward it. This teaches your dog to keep an eye on you.
Step 6: Add Short Practice Walks in Quiet Places
Once your dog walks nicely around the house and garden, move to a quiet street. Keep the first outdoor sessions short, five to ten minutes at most. Short, successful sessions beat long, frustrating ones every time. If your dog starts pulling constantly, you have moved to a harder location too soon. Go back a step and build up again. Reward your dog every few steps when it walks beside you with a loose lead.
Step 7: Build Up Distractions Gradually
A dog that walks beautifully on an empty street may still pull when it sees another dog, a squirrel, or a group of children. That is not failure. It is simply a harder test. Add distractions one at a time: first a quiet street with people in the distance, then a busier pavement, then a park with other dogs far away. If your dog cannot cope, increase the distance until it can, then close the gap slowly.
Mistakes That Undo Your Progress
The most common mistake is inconsistency. If pulling sometimes works, because you are in a hurry and you let your dog drag you to the car, your dog will keep trying. When you do not have time to train, keep the walk short and functional rather than a walk where pulling is allowed. Everyone who walks your dog needs to follow the same rule. Skip aversive tools such as choke chains and prong collars. They can cause pain and fear, and fear often makes pulling worse.
When to Ask a Professional Trainer for Help
Most pulling responds to the steps above within four to eight weeks of consistent practice. But some situations call for professional help. If your dog lunges, barks, or growls at other dogs or people, or if pulling comes with fear or aggression, look for a qualified, reward-based trainer or a certified behaviourist.
FAQ:
How long does it take to stop a dog pulling on the lead?
Most dogs show clear improvement within four to eight weeks of short, consistent daily practice. Puppies often learn faster, while dogs that have pulled for years may need longer.
Does a harness stop a dog pulling?
A front-clip harness makes pulling easier to manage, but it does not train your dog on its own. It works best alongside the stop-and-reward training in this guide.
Should I use a retractable lead?
Not while you are training. A retractable lead stays under constant tension, so your dog never learns what a loose lead feels like. Use a fixed lead of four to six feet instead.
What if my dog only pulls when it sees other dogs?
That is usually excitement or frustration. Practise at a distance where your dog can still focus on you, reward calm behaviour, and close the distance gradually.
Final Thoughts
Stopping a dog pulling on the lead comes down to one clear rule, applied every single time: a loose lead keeps the walk going, and a tight lead stops it. Get the equipment right, start somewhere quiet, reward the behaviour you want, and build up distractions slowly. Your first sessions will feel slow. That is not failure. That is the training working.